Let’s Start From the Beginning…
Over the last couple months, I’ve been immersed in developing my neodymium multi-coil sidewinder pickup. The idea was to make a bridge pickup that can do it all, but take up a smaller space than a traditional pickup. I figured that the entire width of the pickup would be used a the sensing area as there are no coils wrapped around the poles. It seemed to do the job pretty well. The relatively large neodymium magnets reproduce a lot of bass, while the naturally extended highs of the sidewinder design work together. I voiced a little onboard preamp to bring it up in a live band situation.

Building the Exotica Pickup
The Base Plate
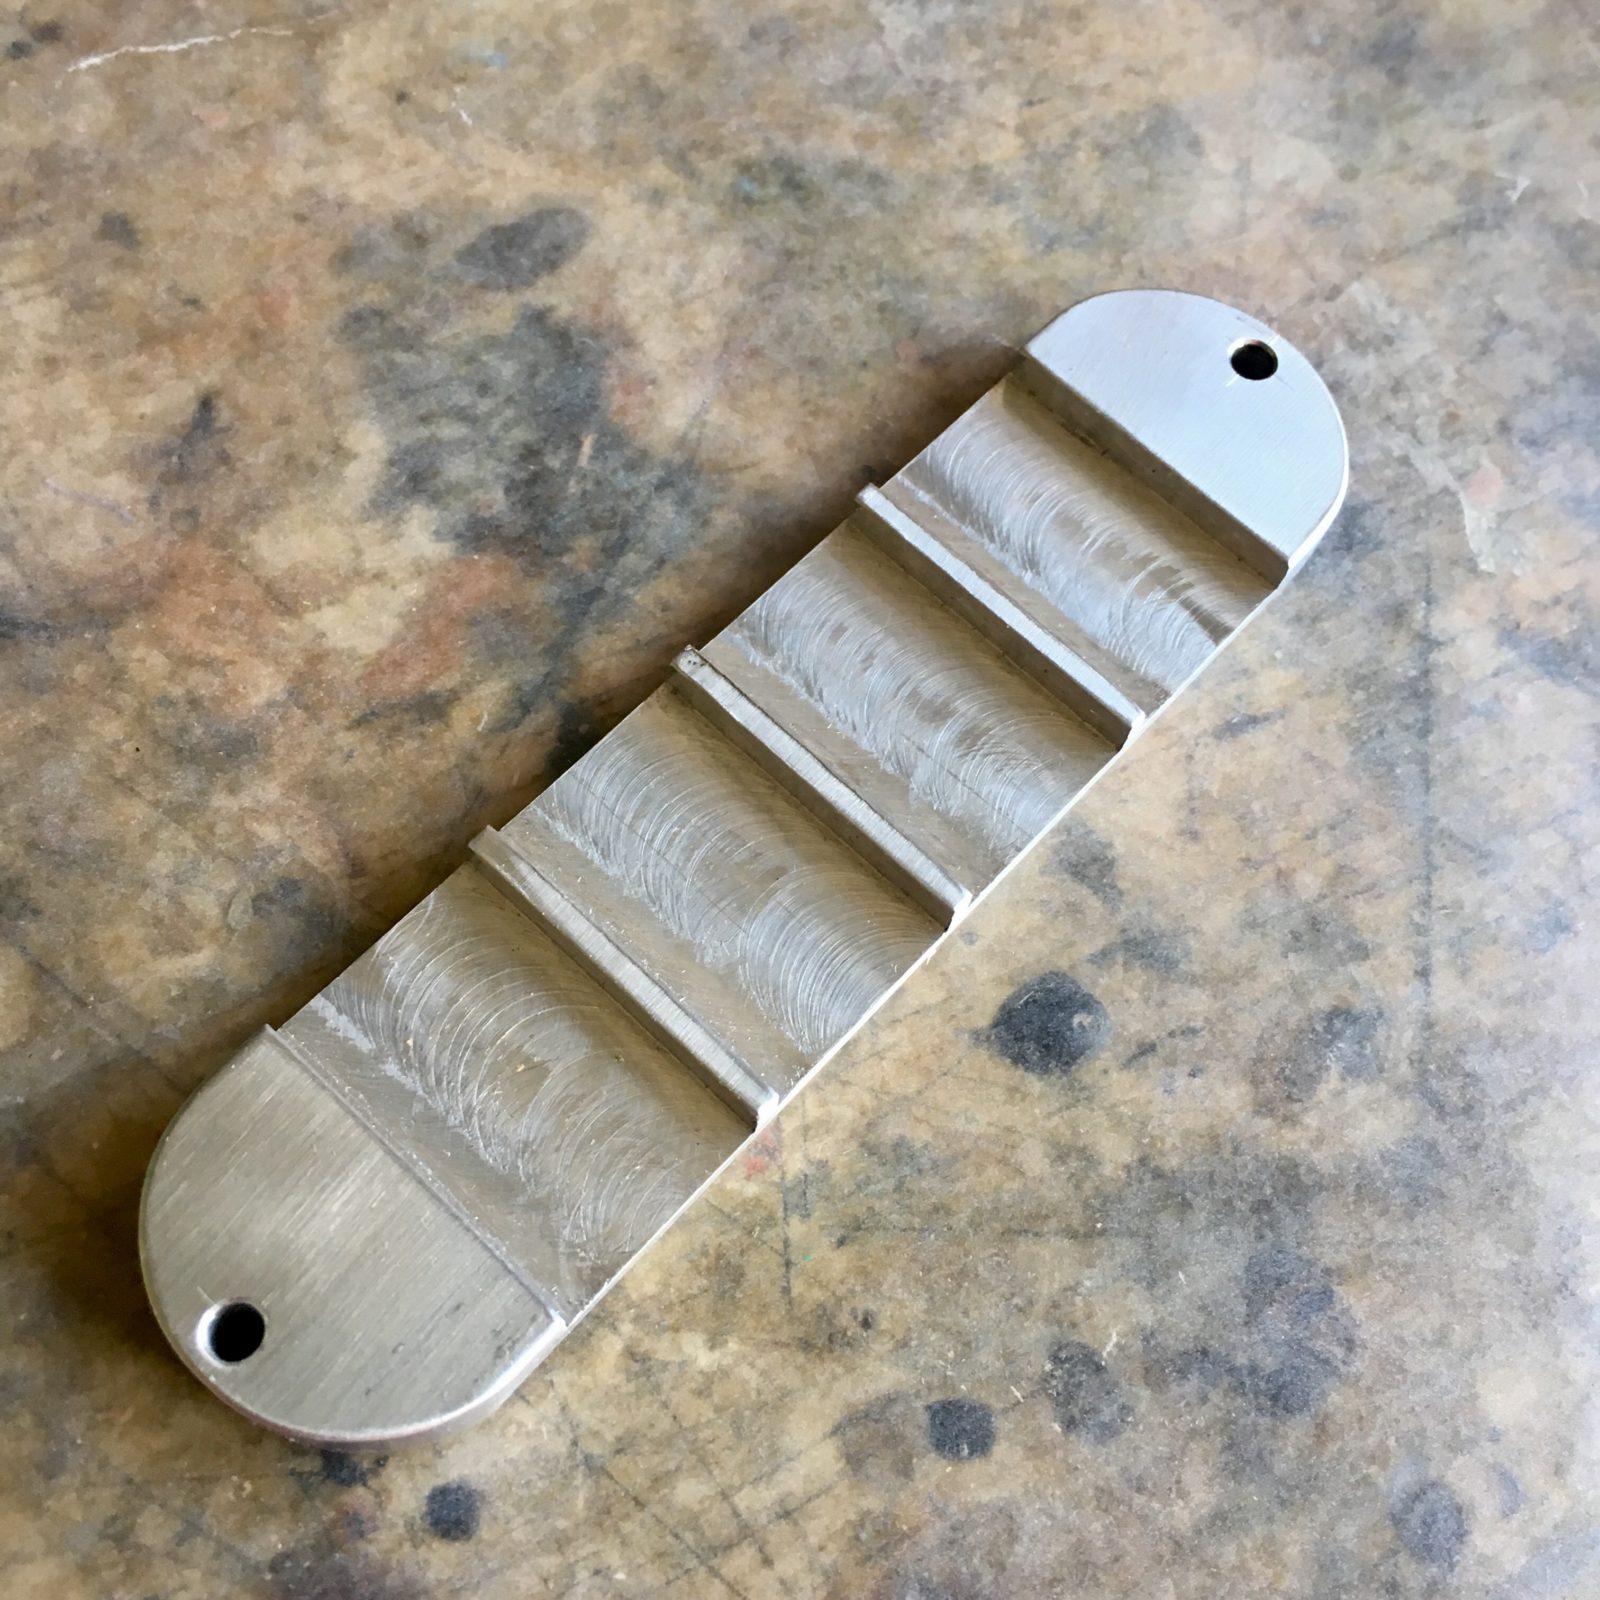
The first two big problems to solve were the small amount space for the multi-coil assembly and keeping the magnets from crashing into each other. The neodymium magnets are really strong and somewhat difficult to manage. So, I designed a little base and had Bruce over at X-Strange machine a master that I could use for prototyping. The base has little trays built in that I could use to place the magnet assembly. I had to use a combination of press-fitting and glue. From there, I came up with a design for my bobbins. The trick was to be able to fit the terminals within the walls of the bobbin itself.
The Bobbins

The bobbins are a combination of cast polyurethane and paper. I file grooves for the wires and attach them with CA glue. I figured that once they get encapsulated inside a block of epoxy, the paper and CA clue will be strong enough. They are pretty fragile, however t I only had one actually fail during the prototyping process – and that was purely due to operator negligence.
I wound these on The Funktronic Coil Genie.
The Cover

I encapsulated the pickup in white polyurethane, but I wasn’t happy with the results. So, I bound and capped it with some nickel silver scraps I had laying around. Using various cements to affix the metal, I had better luck with the softer adhesives like E6000 or Gorilla Glue. For some reason, CA or epoxy wouldn’t hold the metal down. I’ve never had that problem – usually epoxy will do it.
After gluing, I soldered the cap to the binding with my soldering iron. In another life, I used to solder little structures like this all day long. Back then, I used a propane or oxy-acetylene torch. This was the first time I’ve done it with a soldering iron. It wasn’t too bad! The nickel-silver is really forgiving; I had a sand-through that I patched with a blob of solder (it’s really thin metal). Once you sand it, the patch is barely perceptible. At the very least, my cap and binding job will provide some shielding.
Putting it All Together
Despite the seemingly complex multi-coil assembly, the build process itself was pretty straightforward. It’s really a long series of many simple steps. Here’s a few images of the assembly process.


So far, my preliminary have been promising. It sounds really good! I’m really anxious to get it installed in a bass so I can test it out in the field.


Leave a Reply